How To Build CRN's 2010 Ultimate PC

Want To Know How To Build The Ultimate PC?
For all of you who've been wondering how the CRN Test Center built its Ultimate PC, and we know you're out there, here's a quick overview of our 30-step process.
Using off-the-shelf PC components, the 2010 model came in at $3,295. Built around an Intel Core i7 Extreme 980X six-core processor, Ultimate 2010 delivered a Geekbench high score of 13,483, surpassing by far any desktop machine we've seen.
Read on to see exactly how it was built.
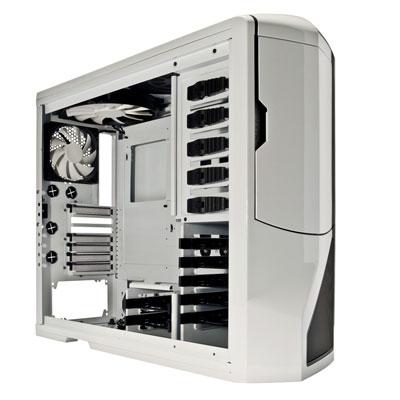
Black, White And Red All Over
We started with NZXT's roomy Phantom, a mid-tower cabinet with plenty of room for drives and the hands that service them. The case we received was black, but it's also available in white (shown) and bright red. The Phantom includes several pre-mounted, pre-wired fans, has room for several more, and controls them all with a central switch bank (shown later). What's one thing that NZXT left out of its case? Sharp edges.
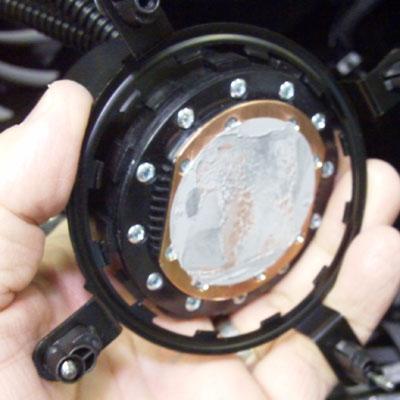
Liquid Cools Better
We replaced the thermal solution included with Intel's $1,000 Core i7 980X processor with Corsair's H50 CPU Cooler from Corsair. Before affixing it to the processor, the underside of the pump gets a slather of conductive grease, included. Also note the outer ring and adapter thingies on each of its four feet. These make the H50 fit snugly on a variety of motherboards for Intel and AMD processors. The pump is powered by the CPU fan circuit and continuously circulates liquid through the radiator, shown later.
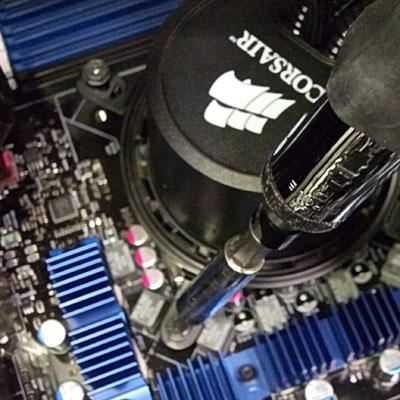
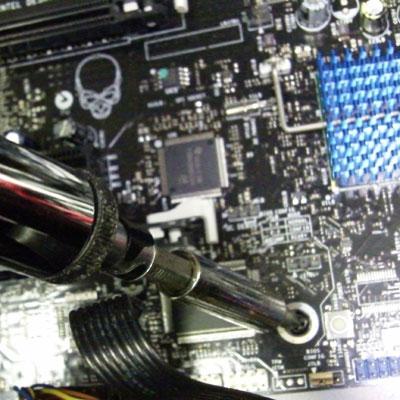
Easy Does It
Complete the cooler's installation by screwing the adapter ring through the motherboard and into the appropriate anchor on the motherboard's underside (next slide). Don't overtighten.
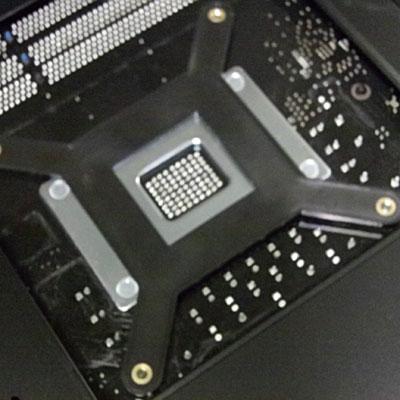
A View From Below
This picture shows the underside of the motherboard after it has been installed in the case. The X-shaped bracket is one of two included with the H50 CPU Cooler. Note that this opening in the motherboard platform permits access to the processor without removing of the entire motherboard, among the most time-consuming tasks.

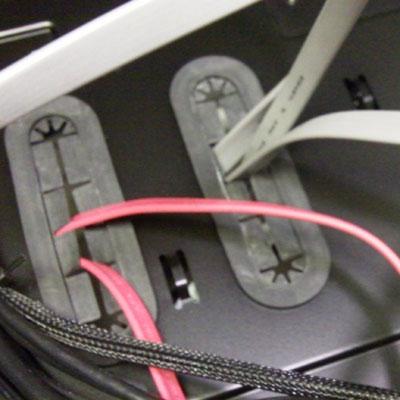
Tight Screw, Tight Seal
The NZXT Phantom case includes screws for mounting the motherboard and all other peripherals. Also note the rubber grommet (right), through which power and data cables are routed. The grommet not only protects cables from chaffing, but also maximizes the separation of hot and cold air inside the cabinet.
Easy To Screw
NZXT simplifies the job of stand-off installation by stamping codes near each threaded hole, indicating which holes get stand-offs for the type of board you're putting in. A key explains the one-letter codes and is also stamped inside the cabinet. Once the stand-offs were in place, holes on the motherboard lined up perfectly. Once we secured all the screws, we were ready to finish installing the CPU cooler.
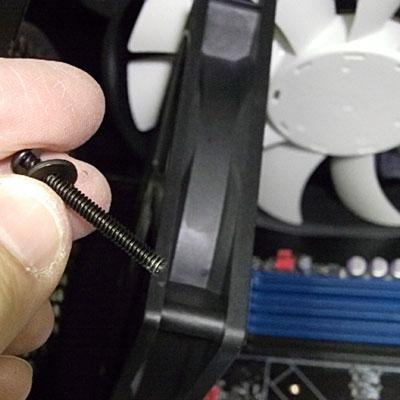
Longer Screw
The installation kit for the H50 CPU Cooler includes screws long enough to pass through the back of the cabinet, then through the fan and into threaded holes in the radiator (next).
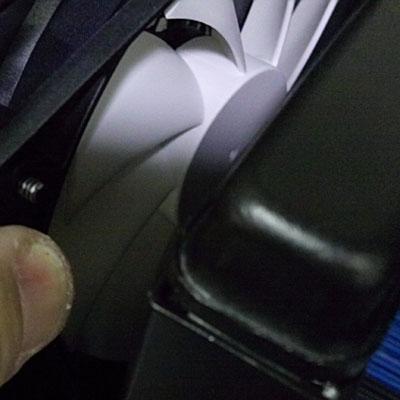
Just Enough Meat
We wanted to leave the Phantom's fan in place since it was already wired nicely inside the cabinet. Fortunately, the screws included with the H50 worked with our fan, protruding just enough to secure firmly to the radiator.
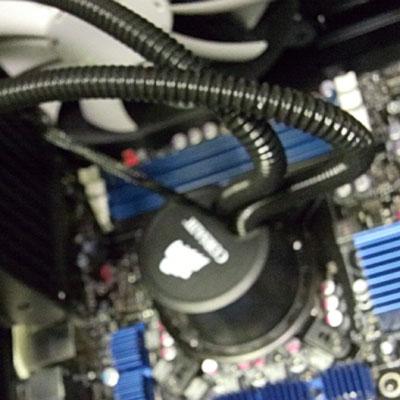
Chiller Theater
This is what the H50 CPU chiller looks like once it's installed completely. The direction of the hoses shouldn't matter, as long as they don't interfere with motherboard components, such as memory. Note the circular grommets adjacent to the radiator. These and others permit external radiator and cooling solutions. Also notice the numerous heat sinks on Intel's DX58SO motherboard.
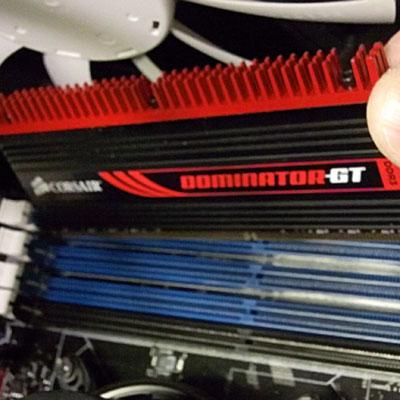
Cool Hand Memory
You won't find a cooler looking DIMM than Corsair's Dominator GT 2000 MHz memory, which was faster than the 1600 MHz supported by the DX58SO motherboard. Memory modules are among the hottest system components, yet they often sit there naked, with nary a cooling fin or heat sync among them. Corsair surrounds its memory chips with conductive aluminum that draws heat directly from the PCB. They're also topped with removable fins to maximize airflow and heat transfer. Colored memory slots guide placement of matched memory sets when taking advantage of the Core i7's dual- and tri-channel memory capabilities to improve performance, which we did.
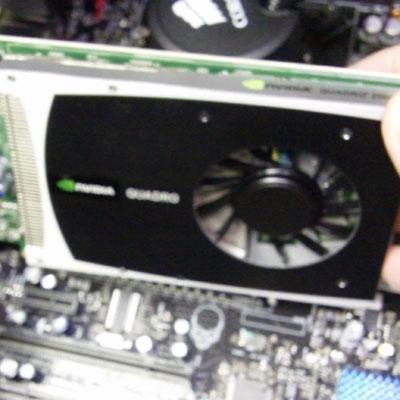
Pixel Pumping, Vector Vixen
One display adapter that caught our attention in 2010 was the Quadro 2000 from Nvidia. intended mainly for business users doing computer-aided design work, the Quadro 2000 exceeds its Quadro 1800 predecessor in vector performance by hundreds of times, by some measures. And its 192 CUDA processor cores delivered adequate performance for gaming, making the card a good all-around choice for pros and hobbyists alike.
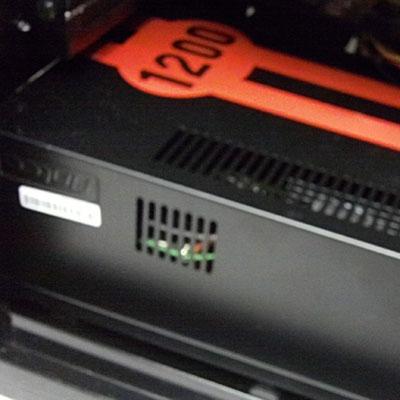
Watt's All That Power?
Some might call it overkill, but you never know when your power consumption is likely to spike. Since it was designed with many-core systems in mind, Antec's TruePower Quattro 1200 seemed the logical choice for the Ultimate PC. And besides, its 80PLUS Silver Certification means that it remains more than 80 percent efficient at 20-, 50- and 100-percent workloads, consuming just enough energy to fulfill the power requirements asked of it by the host system. It's the best of both worlds, with racing stripes to boot.
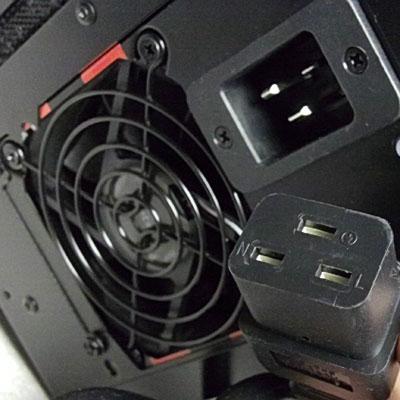
Heavy On Duty, Light On Supply
Don't just grab any old power cord if you plan to service a machine with Antec's TruePower Quattro 1200; it uses an IEC C20 male (16 amp) connector, and requires a C19 female power cord. One is included, of course, but most resellers are likely to have more C13's on hand than anything else.
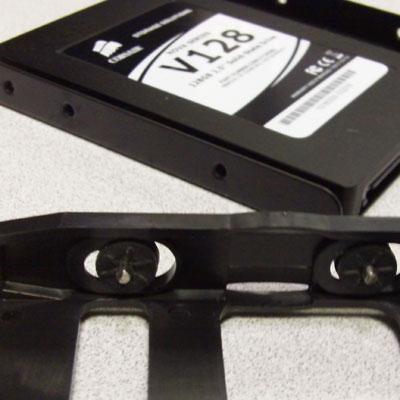
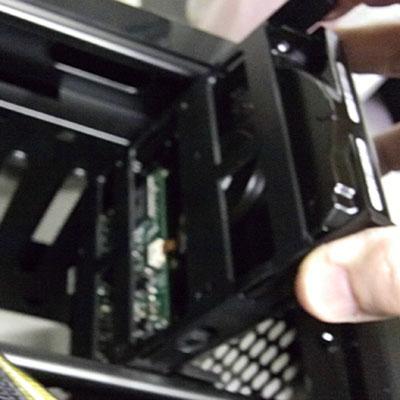
Screwless Installation
There are numerous screwless drive installation methods, and NZXT's is among the best. All internal drive bays include drive mounting frames. These are essentially pairs of drive rails attached to each other at the bottom, and equipped with rubber-mounted pins. Pins align with a drive's screw holes, holding it in place while providing a degree of shock absorption.
The Pin Is In
One way to install drives is to remove the pins, lay the drive flat in the "sled," insert the pins in the wide end of the openings and slide the drives into the narrow end to lock the pins in place. We found it easier to simply angle the drive into one side of the sled and spread the rail on opposite side until the drive lays flat. Either way, the drives install in seconds.
Solid State Is Solid Technology
We designed the Ultimate PC's storage with the motherboard in mind; Intel's DX58SO includes RAID controller logic from Marvell (which by default is disabled in the BIOS). After enabling it and downloading Intel's Rapid Storage Technology software (which is free), we were able to configure the system's six hard drives as two separate RAID arrays; one for booting the operating system and the other for storing data.
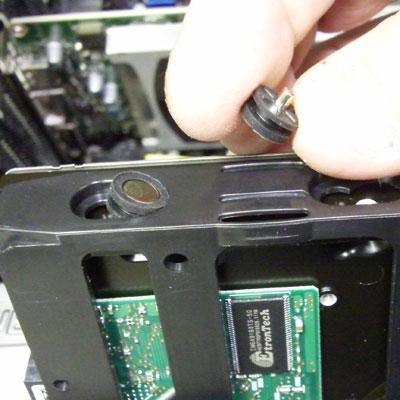
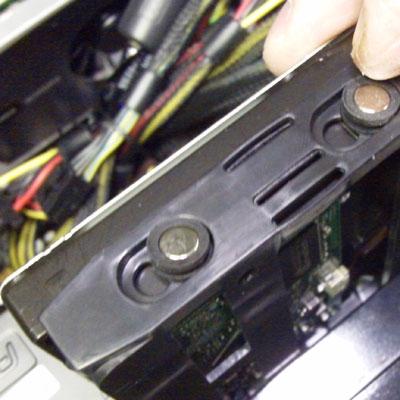
Pinned-In
We configured a pair of 128GB solid state drives (one from Imation, the other from Corsair) as a RAID 0 array and designated it as the boot volume. RAID 0 was selected to maximize performance and minimize boot and system access times. A pinned-in drive is as solid as can be, while the rubber grommets allow it a bit of give.
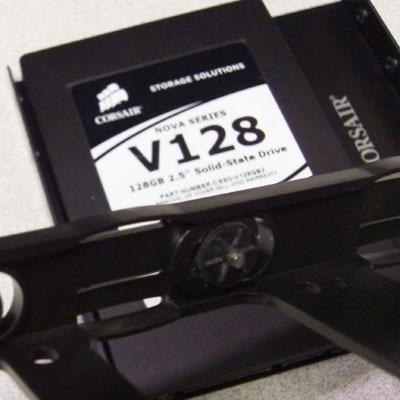
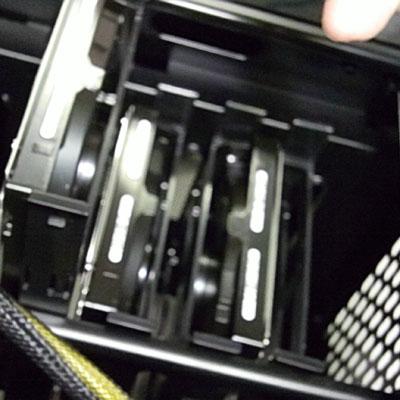
Slide And Lock
Drive-rail assemblies slide in easily and lock securely into place. The two boot drives were installed in the smaller, two-bay enclosure.
Easy As 1-2-3
For data storage, we installed four Hitachi 1-TB 7200 RPM SATA II drives, three of which were configured as a RAID 5 array, and one was kept as a spare. We would have used all four, but we ran out of internal SATA ports. The drive here is upside down to show the rail assembly.
Raid On RAID
Drives occupied four of the six bays in the larger enclosure. Hitachi's 1-TB drives support the SATA II 3Gb/s transfer rate and lock into place when inserted fully.
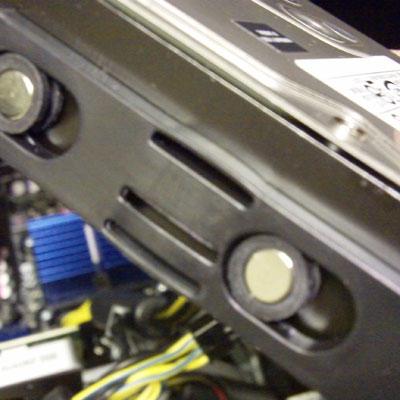
Almost There
The 3.5-inch drives were a bit more stubborn than the 2.5-inch SSDs, but still were ready in just a few minutes.
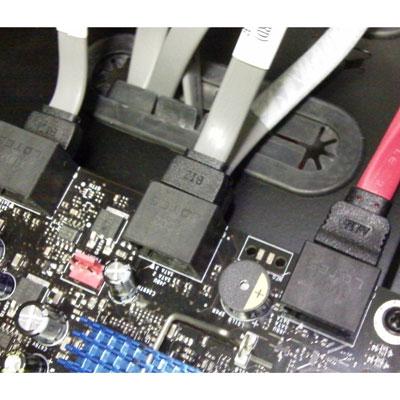
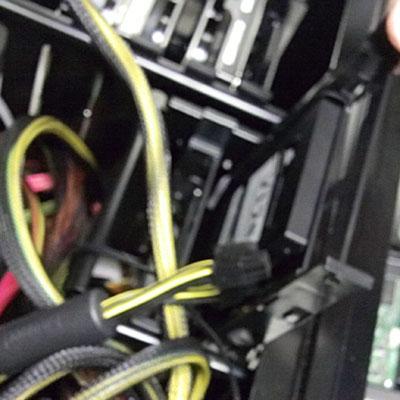
Color-Coded Cables
Something as simple as using color-coded cables can help save time and eliminate confusion. We used red for the boot drives and grey for the data storage RAID. You'll see why coming up.
Black For Blu-Ray
A black data cable was used for the Blu-Ray drive. We would have preferred to use a blue cable, but we were fresh out.
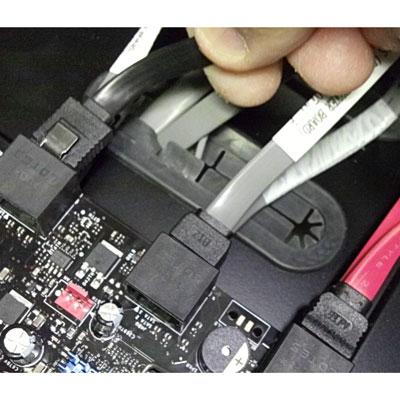
Clever Routing, Less Pouting
Grouping the data cables by drive type helps eliminate confusion during service. It also reduces the size of the grommet hole, thereby helping to keep hot and cold air separated.
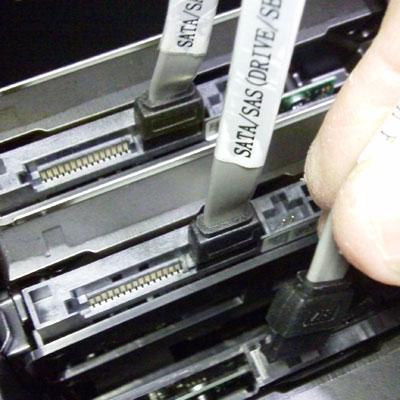
By The Numbers
In addition to color-coding, some organizations might even go as far as labeling drive cables to help save time and eliminate cabling mistakes.

Making Connections
Red cables were used for the boot-drive array because we thought it would be easy to remember that we wanted hot performance for boot and system access. Plus, we had only two red cables in stock.
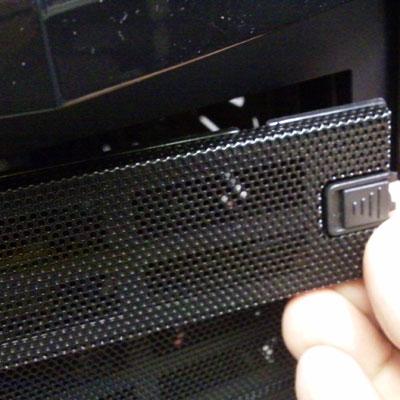
Not Seeing Red
A front door on the Phantom reveals its five, 5.25-inch external bays. With some of the cases we've tested, the external drive blanking plates were the most dangerous for causing finger cuts; they're hard to get out, easily bent and sharp around the edges. The Phantom case had none of those problems. ventilated faceplates are held in with a spring latch and edges are rounded off or entombed in plastic.
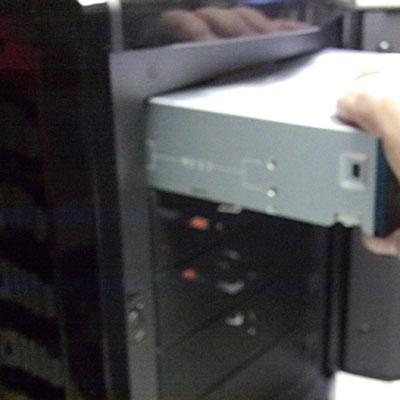
Slides Right In
Our LG Blu-Ray drive slid right in without rails and locked into place with a spring lever. Drives can be further secured with screws. A large vent occupies the lower half of the plastic and steel front bezel, which is held in place with spring clips and easily removed by pulling firmly at the bottom. No wires connect it to the chassis.
More Wow Than Pow
While the central fan control panel will probably draw wows from fellow geeks, it's probably better to let the computer decide when it's best to turn fans on and off. After all, when you're deep behind enemy lines on a black op, the last thing you need is for your CPU to shut down from a thermal overload.
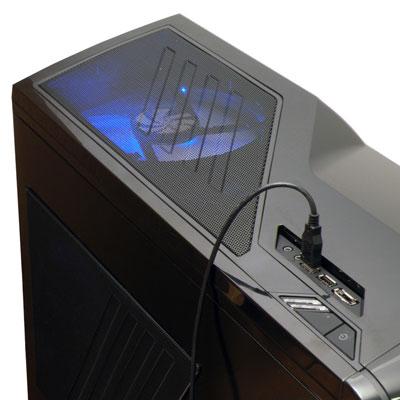
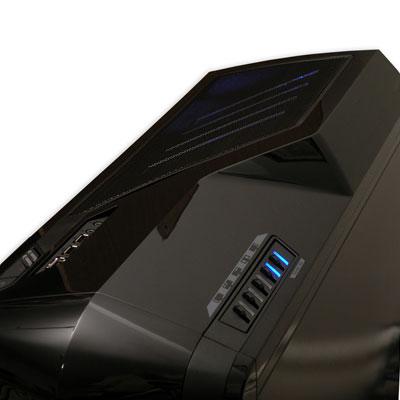
Always Within Reach
Far more practical than fan switches is the top-mounted control panel and port array. Present are power and reset buttons, microphone and headphone jacks, an eSata port and a pair of USB 2.0 ports; clearly the most commonly used controls.
We're proud of this year's Ultimate PC. It performed extremely well in benchmark tests, was made entirely from components available through channel-friendly manufacturers and vendors and cost about a third of last year's model. And now you can build your own Ultimate PC!